
The Pen draws paths from nodes: place points and pull handles out of them to get clean straight lines and smooth curves. Paths live on their own vector layer and stay editable – move nodes at any time, change width and color without losing quality.
Draw a path
- Tap the round PRO button at the top of the screen and choose Pen.
- Tap the canvas to place the first node. The app creates a new vector layer for it. If a vector layer is already selected in the layers panel, the pen adds paths to that layer instead.
- Keep tapping – nodes are joined by straight segments.
- To make a segment curve, place a node and drag without lifting – curve handles come out of the node.
- Tap the first node to close the path.
- Tap Done.
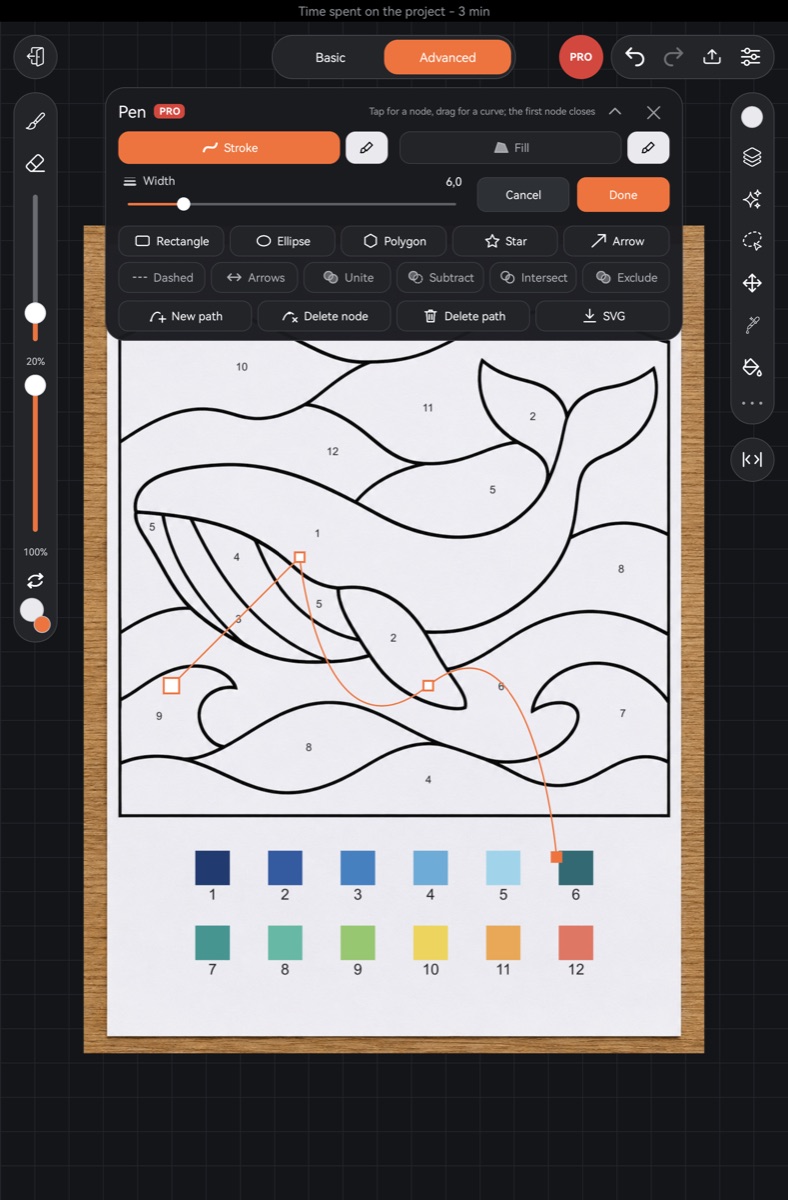
With a stylus, a node appears immediately. With a finger, it appears when you lift, move on or hold – so two fingers still move and rotate the canvas without leaving stray nodes. Nodes can't go past the canvas edge; handles can.
Editing
- Tap any node of any path to select it and drag it. The selected node's handles can be dragged too.
- New path – your next tap starts a separate path instead of continuing the current one.
- Delete node – remove the selected node.
- Delete path – remove the selected path entirely.
- Cancel – undo everything the pen did this session and close the panel.
Stroke, fill and width
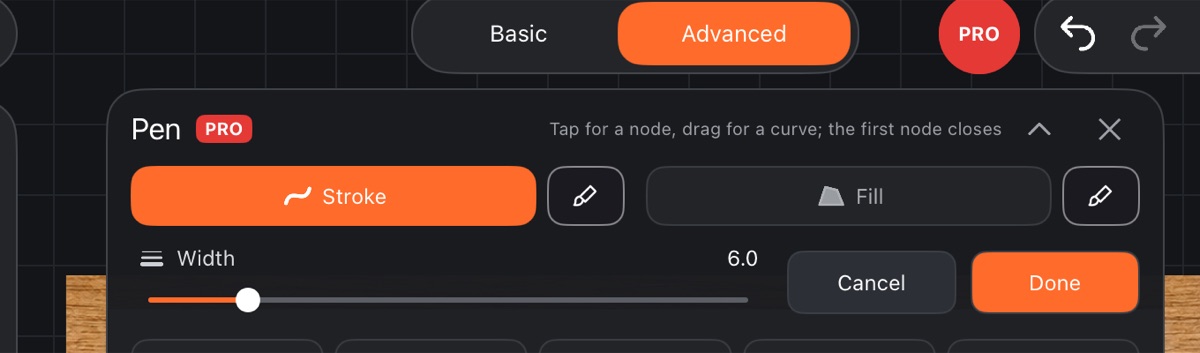
- Stroke and Fill turn on a line along the path and a fill inside it.
- Next to each switch is a color square: tapping it applies the current brush color (“Stroke – brush color”, “Fill – brush color”). Choose the color in the palette first.
- The Width slider sets the stroke width.
These settings apply to the selected path and to new ones.
Ready-made shapes
A row of buttons: Rectangle, Ellipse, Polygon, Star, Arrow. The shape appears in the middle of the screen. Until you move its nodes, sliders below let you adjust it:
- Rounding – for rectangles, polygons and stars; a rectangle also has “Round each corner separately” – then tap a node near the corner you want;
- Corners for a polygon, Points and Depth for a star.
Once you drag a node by hand, the shape becomes an ordinary path.
On a phone the shape and action rows show icons only – hold a button to see its name.
Dashed lines, arrows, combining
- Dashed – the selected path's stroke becomes dashed.
- Arrows – for open lines: each tap switches between an arrow at the end, at both ends, and none.
- Unite, Subtract, Intersect, Exclude – select a closed shape, tap the action, then tap a second closed shape.
Save as SVG
The SVG button saves the layer's paths as an SVG file. On Android it goes to Download/Cloudfarb; on iPad and iPhone the system share sheet opens.
Vector layers
- In the layers panel, a vector layer's menu has Edit with pen – opens the pen for that layer – and Rasterize vector.
- The brush, eraser, effects, gradient, color grading and other tools don't work on a vector layer – rasterize it if you want to paint over it in pixels. After that the curves can no longer be edited.
- An SVG file brought in through import becomes a vector layer, and its paths can be edited with the pen too. See Import.