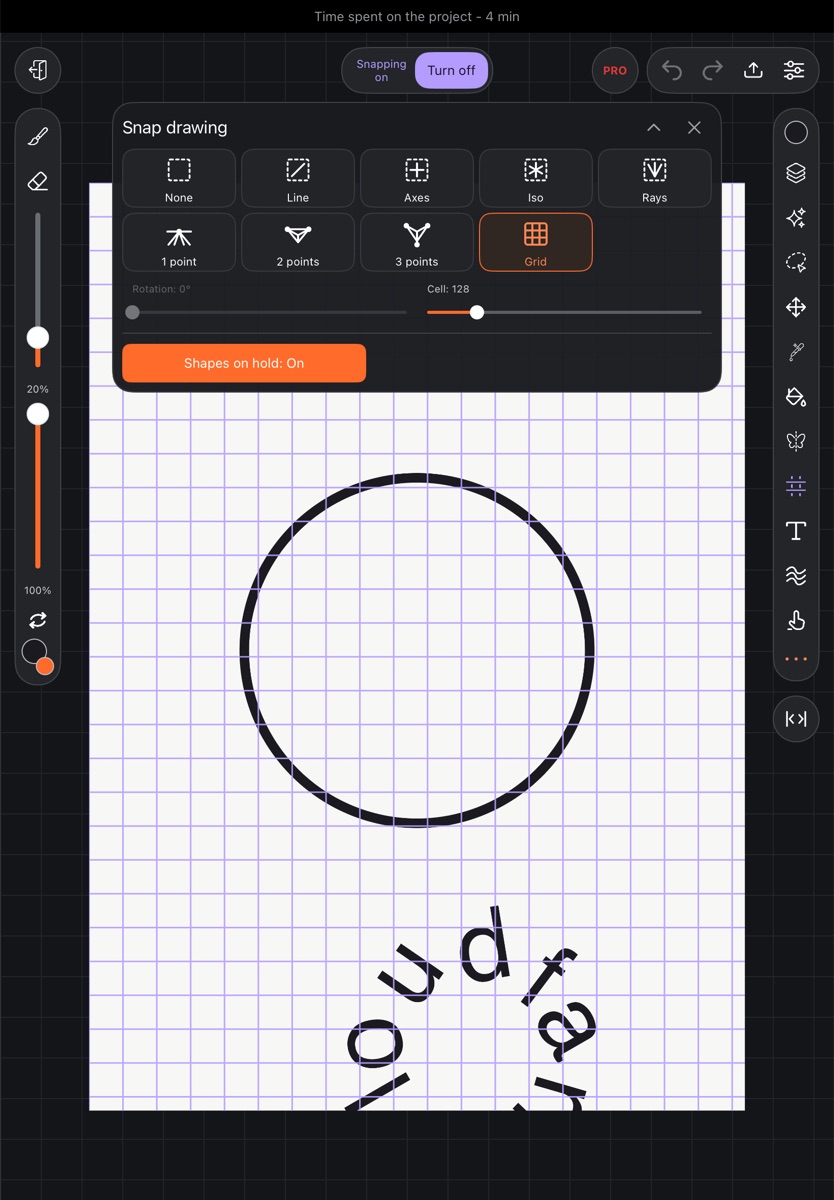
Snap drawing helps you draw straight lines: along axes, as rays, in perspective or on a grid. Symmetry mirrors every stroke. Both work with any brush.
Both buttons are under ••• on the right bar (Advanced mode). While snapping or symmetry is on, its button stays visible on the bar and glows in its own color. Both tools work with one layer at a time: if several layers are checked in Layers, uncheck them.
Snap drawing
- Tap •••, then Snap drawing.
- Choose a guide type.
- Close the panel and draw – snapping stays on.
Types:
- None – snapping is off.
- Line – one direction.
- Axes – along and across.
- Iso – three directions 60° apart, for isometric drawing.
- Rays – lines radiate from a center.
- 1 point, 2 points, 3 points – perspective with one, two or three vanishing points.
- Grid – along and across a grid; the grid lines show on the canvas.
The direction is picked from how the stroke starts and stays the same until you lift, so the line never jumps from one axis to another.
Sliders:
- Rotation – the angle of the lines for Line, Axes and 1 point.
- Rays – the number of rays for Rays; for Grid this slider sets the Cell size.
For rays and perspective, circles appear on the canvas – the center and the vanishing points. Drag them with a finger.
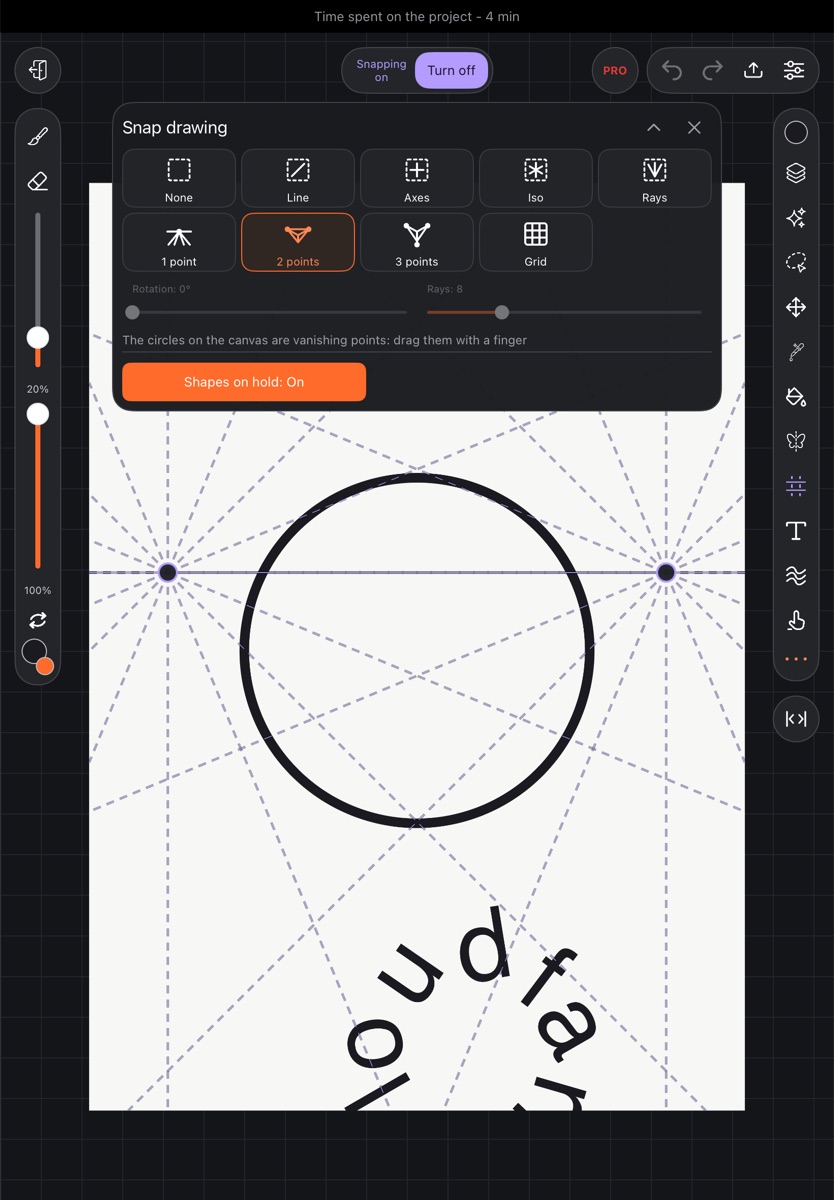
While snapping is on, the top of the screen shows "Snapping on" and a Turn off button.
The same panel has the Shapes on hold: On / Off switch. See Perfect shapes.
Symmetry
- Tap •••, then Symmetry.
- Choose a type: Vertical, Horizontal, Quadrant or Radial. Tapping the selected type again turns symmetry off.
- Set up the axes. While the panel is open, the stylus doesn't draw: drag the center of the axes with a finger.
- Tap Apply – the panel closes and you can draw. Cancel resets the settings and turns symmetry off.
Settings:
- Number of axes – 2 to 16, for radial symmetry.
- Angle – rotates the axes.
- Show axes – shows the axes on the canvas. You can only drag the center while the axes are visible.
- Center – puts the center back in the middle of the canvas.
- Reset – restores the defaults; symmetry turns off.
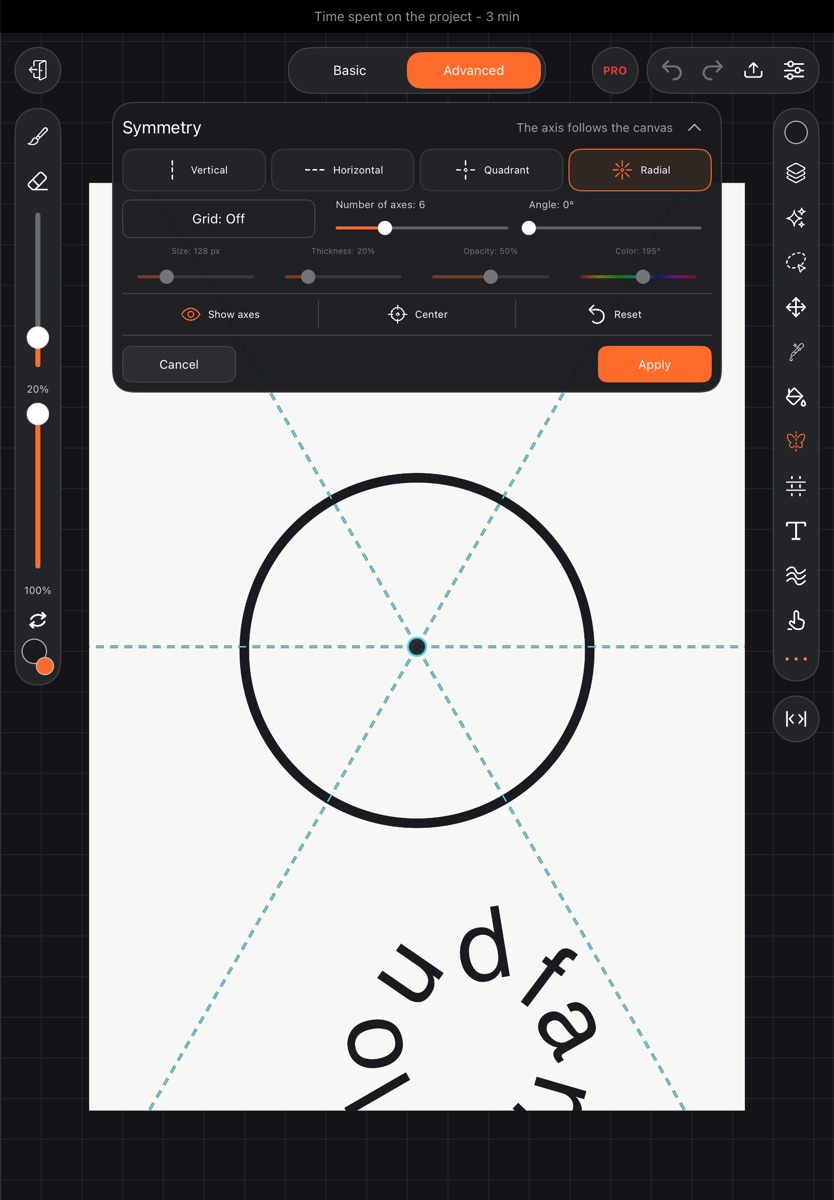
While symmetry is on, the top of the screen shows "Symmetry on" and a Turn off symmetry button.
Axes and grids are only drawn over the canvas: they never end up in your artwork or exports.
Grid over the canvas
You can show a grid for layout – it doesn't pull your lines, it's just visible.
- In the Symmetry panel: the Grid: On / Grid: Off switch and the Size, Thickness, Opacity and Color sliders.
- Or Settings → Canvas → Guides: a panel with the same sliders opens. Apply keeps the grid until you turn the switch off; Cancel removes it.